Do you want the world to know about your upcoming event with a stylish poster? Thanks to online design platforms, you can easily create professional advertising materials to mark any occasion. All that's needed is some creativity and willingness to design it yourself.
In this article, we'll let you know how you can make a memorable poster, which free options are available online for doing so, and what you should pay attention to.
Create a Poster: Make a Poster Online in 7 Steps
Creating a poster is not nearly as complicated as you might think. Below, we'll walk you through all seven steps of the process.
Step: Choose the Right Design Platform
The first thing you'll need to do is select the platform you'd like to create your poster with. In our extensive review of online design platforms, we tested five of the most popular solutions. Each has its own strengths and weaknesses, being more or less well suited for different kinds of tasks.
Our Recommendation: Canva

The winner of our review series was Canva. Hailing from Australia, the intuitive design platform impressed us with its large selection of templates and elements, as well as its extensive editing and personalization options. You won't only be able to make stunning posters with it, but also professional social media posts and other kinds of advertising materials, even if you don't have any design skills.
But don't take our word for it: Thanks to the developer's 30-day free trial, you can test out all of the service's Pro features at no cost. These include everything you'll need to design and bring professional posters to life.
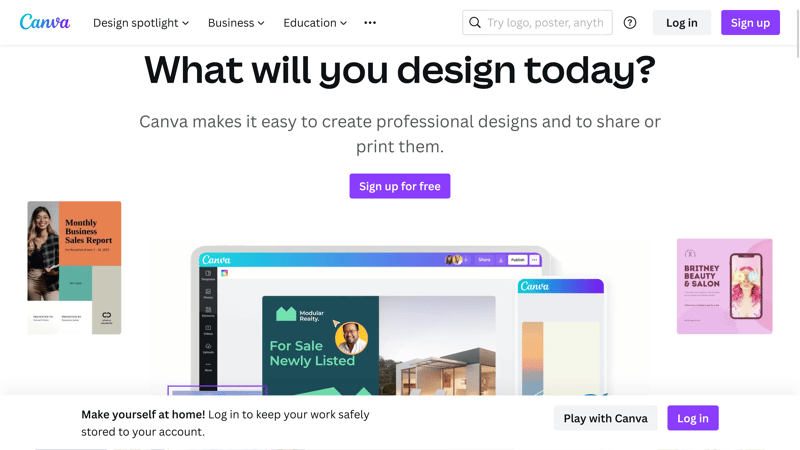
Canva, EXPERTE.com's winner, offers a huge selection of high-quality templates.
Canva's Advantages and Disadvantages
Intuitive to use
Professional templates
Impressive stock media archive
Excellent price-performance ratio
Free trial version that includes all Pro features
Lack of media and template filters
Unimpressive number of templates
Online Design Platform Ranking
In our opinion, Canva is the best online design platform, however, it has plenty of competition. Our ranking below shows how each of these services performed:
Select a Template
Note: We used Canva for the rest of this guide. Other design platforms offer similar capabilities, however, menus, options, and features do vary.
Registration is quick and effortless with Canva. Once logged in, you'll be taken to your Canva dashboard. Here, you can create new designs or edit existing ones. This is also where you'll start creating your poster.
Canva's templates are arranged thematically according to their intended purpose. There are a few ways to find a suitable layout for your poster: You can type poster in the search bar, or click on Marketing in the menu off to the left, and then Poster among the options that are displayed.
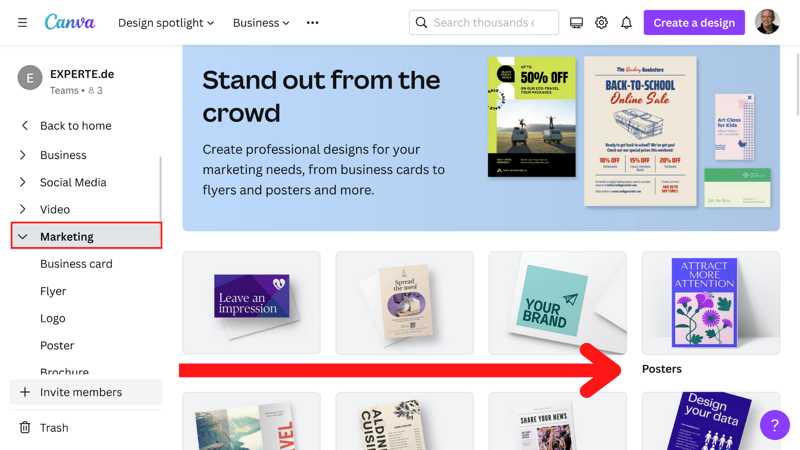
Canva offers several ways to find the right template.
After we clicked on Poster, Canva displayed more than 100,000 templates. It would take too long to sort through all of these manually. Unfortunately, Canva doesn't offer filters to refine search results, however, entering keywords, such as 'sport' or 'restaurant' does the trick.
For this example, we decided to create a sport poster. To preview the template, click on the layout. Supposing that you like what you see, click on the Customize this template button that appears, and you'll be able to edit it to your preferences. On the other hand, if you'd prefer a different template, click on the 'x' in the upper right and continue your search.
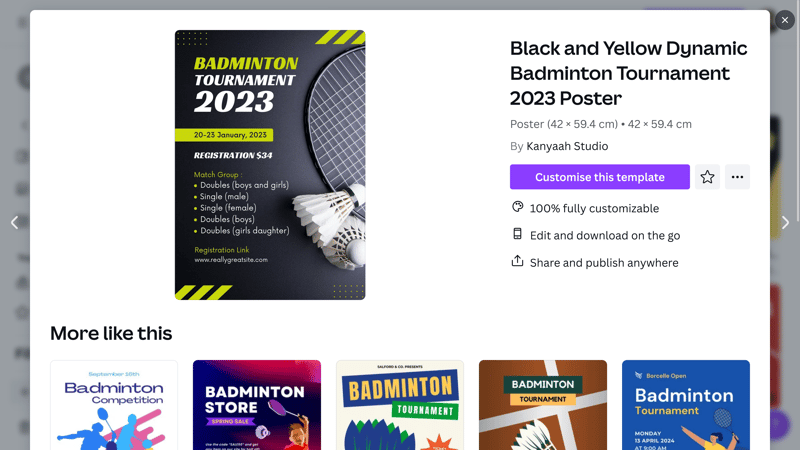
You can conveniently preview templates before opening them in the editor.
Customize Your Template: Personalize Your Poster
In our example, we decided to create a DIN A3 ("Ledger" or "Tabloid" in the US) golf poster. After clicking on Customize this template, Canva's editor opened with the layout. This is the service's creative heart and where you'll be able to customize any layout to your preferences.
For example, you can adjust its colors, effects, or animations. While the last of these doesn't make much sense for a static poster, they can work wonders for social media posters or those intended for digital display.
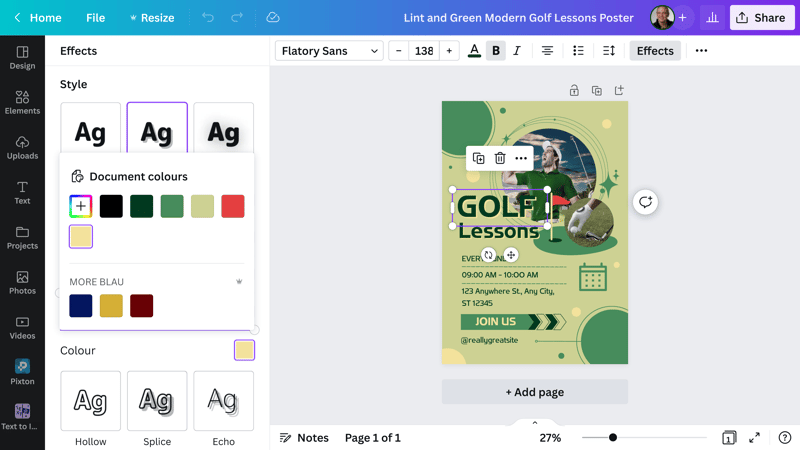
Font type, size, and style, among many other parameters, can be adjusted in Canva's editor.
Would you like to integrate your company's corporate identity (CI) into your poster? No problem: Select the text that you'd like to apply these standards to and a range of editing options will appear, including font, text size, color, direction, and even effects, such as shadows.
After highlighting the text, simply select which aspects you'd like to adjust in the menu bar that opens above your cursor. Also included are transparency and linking.
Add Elements
Chances are that you'll want to add some unique graphics, stickers, frames, or other content to the poster template you've selected. Photos can either be uploaded manually or dragged and dropped directly from your desktop into the editor. Make sure that you use the right resolution for printing, at least 300 dots per inch (DPI). Images with a lower resolution will appear blurry and pixelated.
Should you not have any images that you'd like to incorporate, you can check out Canva's impressive selection of stock photos. To browse these, click on Photos and enter a keyword, or try your luck with the Magic Recommendations feature. This automatically serves up images that match your template both in terms of content and style, based on what you last searched for. In our example, this allowed us to find a female golfer in a seaside environment.
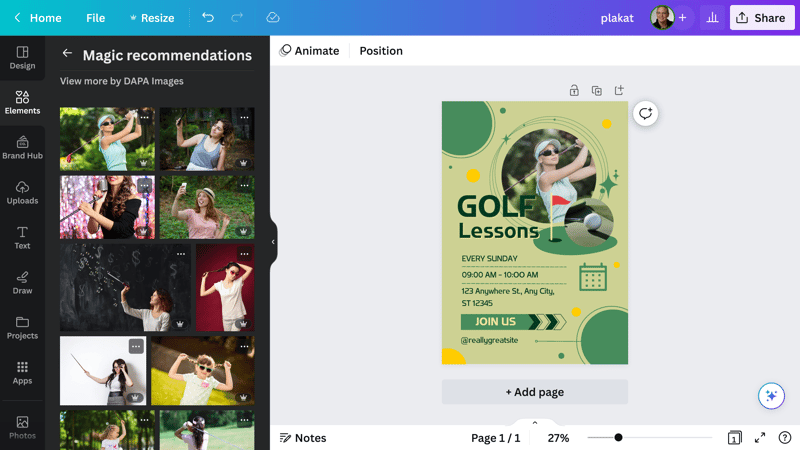
With one click in the Magic Recommendations tool, you can integrate relevant stock content directly into your template.
It's also possible to adjust your template's colors. When clicking on an element, a menu should open in the upper menu bar. You'll be able to adjust settings for each object in your layout and let your creativity run free. However, a word of warning: Most of the templates are already visually optimized - too much creativity can upset the balance.
Should you not be able to find the exact image that you're looking for, even with the help of Magic Recommendations, you can try to Text to Image tool. Simply type what you have in mind and Canva will try to fulfill your request.
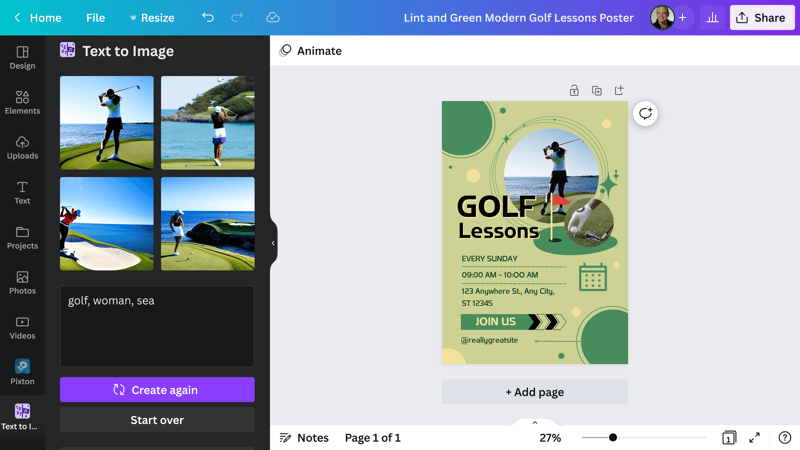
Visualize your thoughts: With Text to Image, Canva tries to find the content that you're searching for.
For our example poster, we wanted a graphic of a female golfer near the sea. We typed "golfer", "woman", and "sea" in the search field and Canva offered us a number of relevant suggestions.
Proofreading and Editing
You've put together a great design, printed it, and are getting ready for its distribution. However, when you pull out an example to check, your eyes immediately notice a misspelled word, the wrong date or time, an incorrect email address, or a broken URL Errors like these are all the more frustrating when caught too late.
It's hard to proofread or edit your own work, since, by default, we tend to overlook our own mistakes. For that reason, it's wise to recruit a friend or colleague to give your draft a look before you send it to the printer.
In case that isn't an option, you can try browser extensions that highlight textual mistakes and make suggestions for improvement. However, even though this is a step in the right direction, it's difficult to replace an extra pair of eyes.
- 1.
Proofread something that you've written a few minutes, hours, or even a day later. This gives both your brain and eyes a chance to disconnect from the topic and will help you to more readily notice mistakes.
- 2.
Read your text aloud and then take a short break. For the second round, slowly articulate each letter of every word in your text. In this way, you're almost guaranteed to find any misspellings. Do the same with telephone numbers, URLs, and email addresses.
- 3.
We read differently from screens than paper and are easier distracted as well. Should you have a large amount of text to proofread, we recommend printing it out and correcting it by hand.
- 4.
For longer texts, schedule breaks so that your brain and eyes can recharge. As soon as your thoughts start racing elsewhere, take a breather.
- 5.
Check titles separately so that you don't overlook them.
- 6.
Read for grammatical, not contextual accuracy. If you want to check for the latter, do so after you're certain that the text is error-free.
Download & Share
Your layout is just as you imagined it, the text is readable and error-free, and your image resolution and colors are perfect. If so, it's time to download your project. Click on the Share option in the upper right and then Download after which you'll be offered a selection of different options. Canva briefly explains what each of these is best suited for.
The format you select for your poster's download depends on how and where you intend to advertise it. If it's for digital use, a .jpg or .png will be fine. On the other hand, if you're going to print it, you'll need to check with the printer you've selected. These days, PNG is widely considered standard, however, you'll have to specify which resolution you want the poster in prior to download.
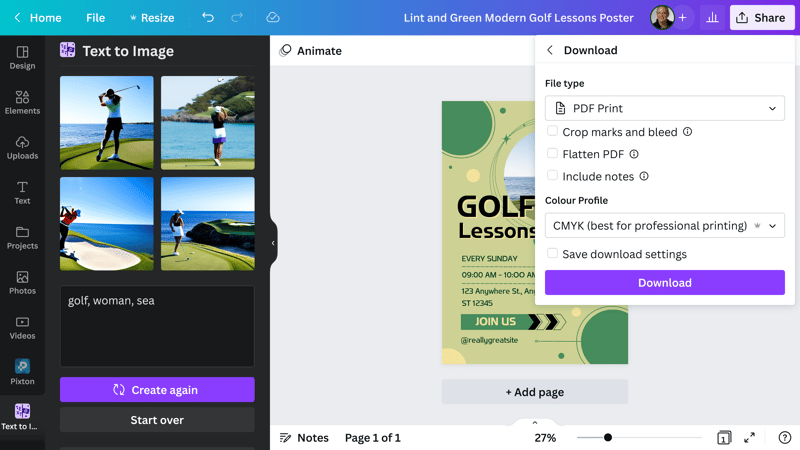
If your printer asks for a PDF, make sure that they specify which color plates they prefer. For digital usage, RGB is adequate, for offset, you'll need CMYK.
If your poster is going to a professional printer, the file will need to be in PDF Print format. The color plate depends on what sort of hardware they're using: Offset requires Cyan-Magenta-Yellow-Key (CMYK). These colors behave differently than Red-Green-Blue (RGB) plates.
RGB is more than adequate for digital printing. Make sure that the box next to Flatten PDF is checked, as this enhances your poster's printing quality. If unsure, ask your printer whether your poster needs crop marks.
Print: Bring Your Template Off the Drawing Board
If you only need a few copies of your poster and have a good color printer, you can handle printing at home. However, colorful posters will quickly drain even the fullest ink cartridges and leave a small white border around the edges of the paper that you'll need to trim off.
The easier and more affordable option for larger quantities of posters is sending the file to a professional printer. You can do this either directly through Canva (which is relatively expensive) or look for an alternative online.
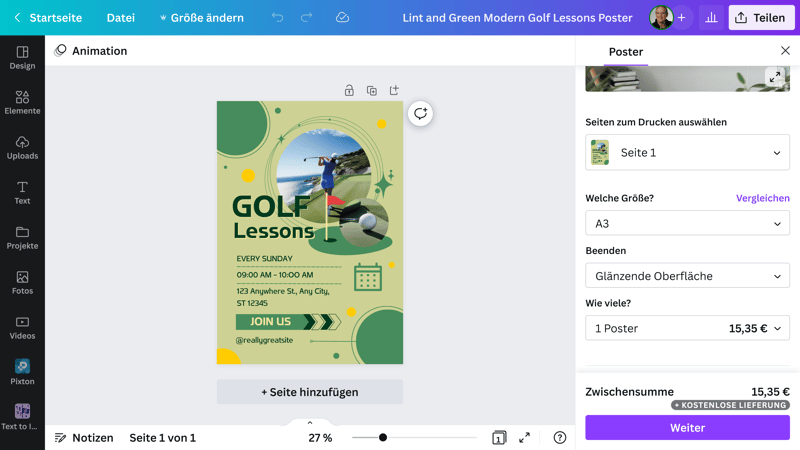
If printing more than a few posters, let a professional printer take care of it for you.
Conclusion
Thanks to online design platforms like Canva, it's no longer difficult to create a stylish poster. They offer a huge selection of professional layouts that are easy to tailor to your preferences in their intuitive editors. More than that though, you can add images or design elements that match your needs and corporate identity.
If you'd like to create posters for personal use, it's possible to print these at home. However, we recommend letting a professional printer handle this for you. In our opinion, Canva's print-on-demand service is overpriced, especially considering how affordable online alternatives can be. Shop around and you'll be certain to find an online printer that can bring your digital dreams to life.
FAQs
There are a number of online design platforms that you can use to create a poster. We took a closer look at five of these in our EXPERTE.com comparison series. The winner of our test was Canva, an Australian platform that excelled owing to its intuitiveness, powerful editor, as well as versatile templates and elements.
Yes, you can design posters for free with services like Canva. The platform offers a 30-day free trial that includes access to all of its Pro features. This includes CMYK for PDFs, which you'll need to do offset printing. Of course, to print your posters, you'll need to pay, whether for ink and paper at home, or a professional printing service.
Start by selecting a suitable design program and creating an account with them. After logging in, select a template and adjust it to your specifications. In this step, you'll be able to customize the font, images, colors, and other elements, giving your poster a personal touch. Once you're satisfied, download your poster in the required format and send it to a printing service.
Classic posters are DIN A3 ("Ledger" or "Tabloid" in the US). However, if you need more space, you can select DIN A2 or even the largest, DIN A1 format. Keep in mind that the larger the paper, the more work you'll need to put into its layout.


